Hi all,
Hope you are all well. I’ve been a busy bee whilst stuck at home this month – planning new courses, retiring old ones and… writing blogs! Plus I have decided to share lots of FREE demos and content on my blog here as things to when we are on lockdown! This blog also carefully coordinates with a daily prompt from my At Home In April – 30 Day Sketchbook Challenge.
Printmaking tutorial videos – new blogs!
As I finally retire my longer online printmaking course ‘Introduction to Printmaking’ (I am switching course platforms), I have decided to share a select few of the tutorial videos with you, recorded in 2015, that demonstrate some of the printmaking techniques that you can do comfortably from home. Found object printing immediately sprung to mind as it is something that most people can have a go at with limited printmaking materials available to them. Even if you don’t have printmaking inks you can try with acrylics, gouache or even poster paint!
‘Found Object Printing’ loosely falls into the bracket of Collograph. Collograph is a simple and very effective form of printmaking that is created by using various types of collage as the plate that you then take a print from.
In this blog article I will include a demonstration video plus a brief description of the stages of printing.
Enjoy!
Susan
Video demonstration
Further information on found object printing
This variation on the collograph theme works on the basis of using found objects to print from. Anything you can find that has a surface that can be inked, can be printed from.

This is even more experimental and free than the collage prints and often great fun. The difference between this and the collage (proper collograph) is that you are printing directly from the objects and not sticking them to a printing plate or cardboard base first. You simply ink up the objects and take a print directly from them. This often produces unusual shaped prints not limited to the square shape of the cardboard base.
Remember too that you do not always have to burnish your print in the usual way – if this requires wrapping your printing paper around your object, then try it!
Tools and materials
- Printing ink
- Palette knife
- Rags or cloth to clean inks from plate
- Printing Paper
- Roller / wooden spoon for printing
- Pencil
- Craft knife
- Paintbrushes
- Sponges
- Hairdryer / fan heater
- Items to take prints from (see below for ideas)
Step-by-step guide
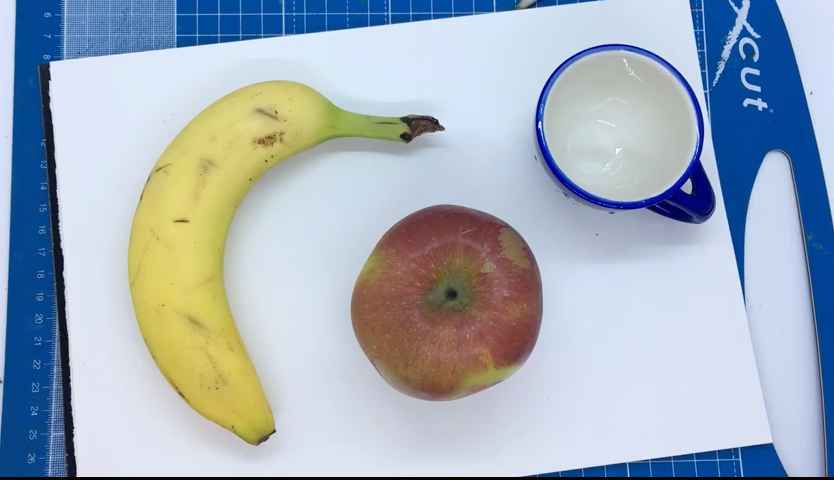
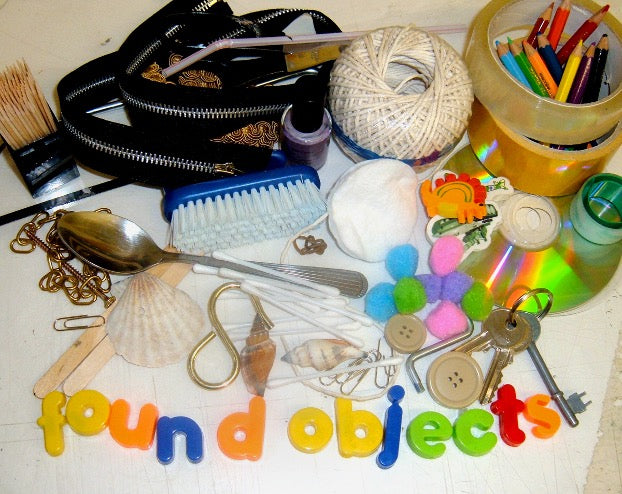
1. Begin by finding an object or selection of objects to print from. You may like to try…
- Keys
- Kitchen utensils
- Toys
- DIY bits and pieces e.g. screws, nails etc
- Your body!
- Cocktail sticks and cotton wool
- Bubblewrap
- Matchsticks
- Pompoms
- Rolls of tape
- CDs
- Lids from pots
- Buttons, beads and ribbon
- Sponges and items with texture
2. When you have chosen your items, arrange them in a way that you would like to print. Either arrange them into a design, or draw out a design in pencil of where you would like to print your items.
3. The method of printing we will use to demonstrate found object printing is the relief printing method. Choose the ink that you would like to use and place a small amount onto your printing surface. Begin to roll out the ink to apply it to the roller.
4. Carefully apply the ink to your found object(s) using the roller. Alternatively use a sponge or paintbrush to cover the object if the surface is very uneven. Make sure that every area that you want to print is covered in an even amount of ink.
5. When you have applied the ink, your object(s) will be ready to print.
6. If your found object ‘plate’ is fairly flat, you can place a sheet of cartridge paper underneath it and print in the usual relief way. Place the object INK SIDE UP and the printing paper lowered down, burnishing (rubbing) onto the back of the paper to pick up the ink.
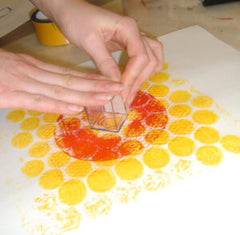
7. Alternatively, if the object is small or an unusual shape you can print from it by pressing the object face-down onto the printing paper, as if it were a rubber stamp or potato print. Make sure that if you use this method that you use enough pressure to transfer the ink. If the object is small you can re-print the object (or a different object) again in a different area of the paper. By using different objects inked up and different colours you can build up a much larger image by stamping these objects down into a larger design. Think about creating repeated patterns.
8. When you are happy with your print, leave it to dry. You can then re-ink the object(s) again and take another print. When you have finished with your objects wipe them clean with a damp cloth.
Try experimenting with the different marks and shapes that can be created from different objects and how they layer on top of each other. When layering up your print, start with lightest colours in the background and the darkest colours on top (printed last).
Why not try rolling objects around on the paper, creating repeating patterns or even printing from your own body!
Want to learn more?
If you enjoyed this blog and would like to learn more with me then you can find all my online courses here.