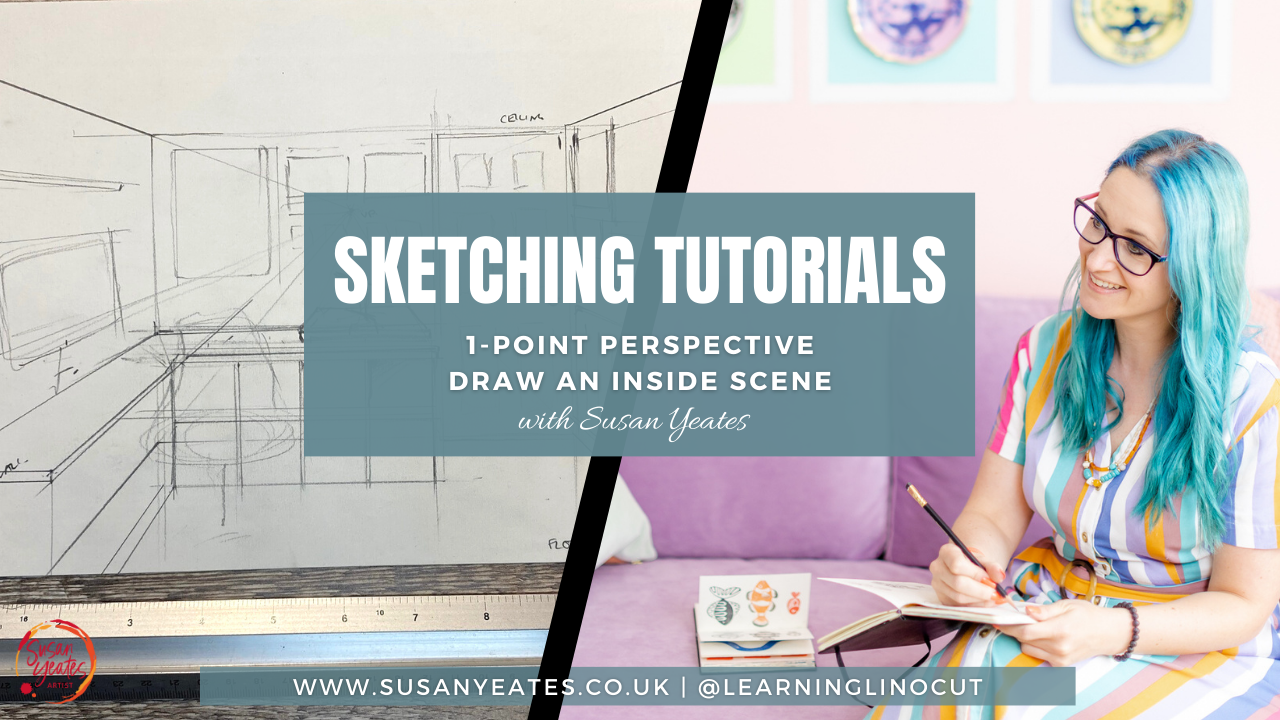
In this tutorial we are going to look at 1-point perspective but look at drawing inside a building... Watch the video to find out more and to see the demo with Susan.
Tools and Materials
- Piece of paper or page in your sketchbook (I used A4)
- Pencil
- Ruler (and/or set square if you have one)
- Camera or smartphone
- A room as your source material
- Other materials to develop the image further should you wish
Instructions
1. Find a room to use for this tutorial
2. Take several photos of the end of the room (just like I did in the tutorial). Explore different viewpoints i.e. move each time you take the photo.
3. Look at these photos closely on a screen such as a computer or iPad or print them out. Find the lines between the ceiling and the walls that lead to a single vanishing point.
4. Choose one perspective that you like and start to create this into a drawing. Use a pencil an your ruler to begin placing these lines you have found and the vanishing point on the screen. Keep the lines light whilst you are working things out. You can make the lines a little stronger once you are sure they are correct.
5. take your time to then use your vanishing point to mark in other large items such as furniture, doors or radiators just like in the demo.
6. Once have marked out the major elements you can either stop there or carry on developing your drawing.
7. To develop your drawing use additional materials such as pen or paint top strengthen your lines and add colour and detail. You can keep the illustration as black and white or start to add colour. The colour palette could be realistic or just a few selected colours. Remember that you don't have to depict absolutely everything in your picture that you see in the room - maybe simplify or just pick up interesting or larger items.
8. You could also try this tutorial using the additional photos you have taken i.e. create several pencil perspective studies from different points in the room. I would certainly try this out if perspective is new to you.
I look forward to seeing what you get up to with this (and maybe seeing some scaly peeks of rooms in your home).


