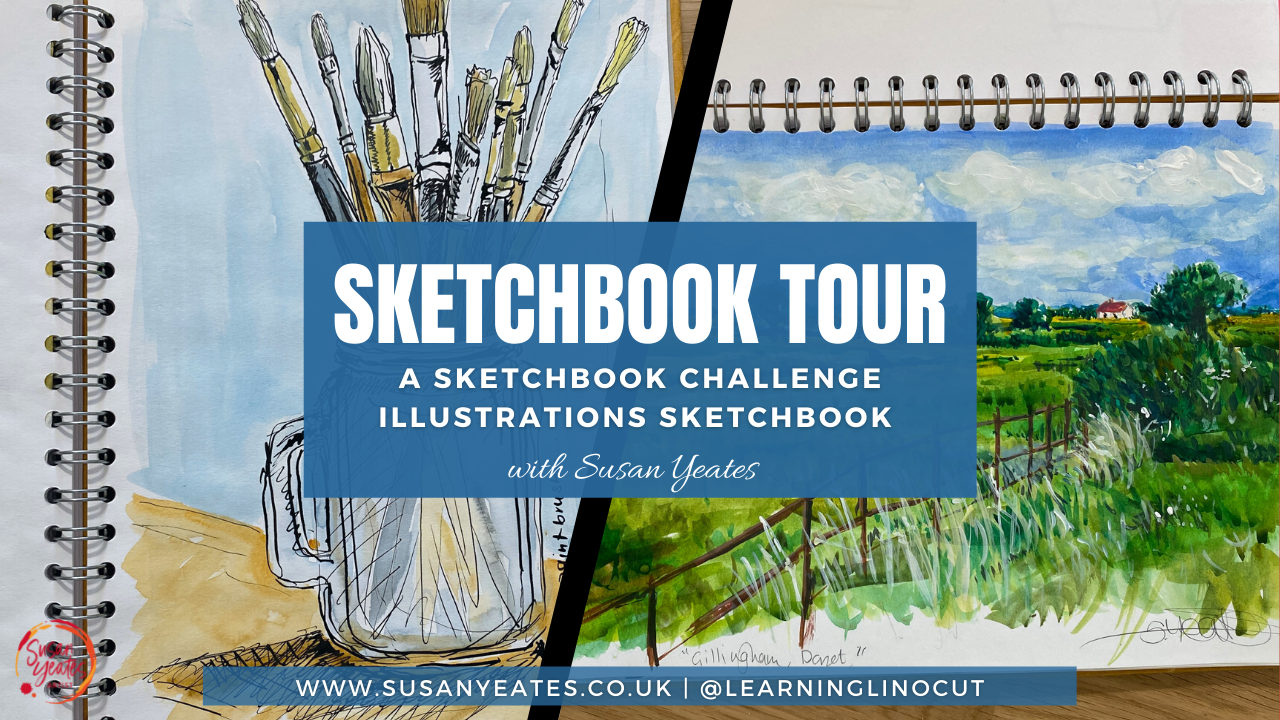
This tutorial demonstrates a technique that contrasts a loose flowing first layer with a second more detailed second layer that sits over the top. It is a way to add a little more depth and sometimes movement to your sketches.
Watch the video for a demonstration (I create three different sketches in the video) and then materials list and instructions sit below along with a few photos.
This exercise is an extract from Jan 2021 from my Inspire Creative Membership and is just one of several tutorials that was shared that month.
For more information please visit: https://courses.susanyeates.co.uk/susan-s-course-community
Tools and Materials
- A piece of paper or sketchbook page
- Some drawing ink (I show you watercolour ink, acrylic ink and Indian ink in the video - any type will be fine). If you don’t have any drawing ink, then dilute down some paint with water and this will have the same effect.
- A fine liner pen (I used a UniPin 0.8 pen, a black fountain pen and a calligraphy dip pen as three examples in the video).
- Some water
- A paintbrush
Instructions
- Select and object as your subject matter
- Take some drawing ink diluted with a little water and spend just a few moments sketching out the basic shape and a general impression of the object on your page.
- Leave to dry
- Take your fine liner pen and over the top of your first layer, draw a more detailed version of the object. Your lines don’t have to match up exactly. Have fun!
Find out more about Susan at: www.susanyeates.co.uk


